Diving Deeper into New and Advanced Modelling Techniques
- Leighanne Fernandes

- Mar 21, 2020
- 4 min read
From where I left off with the spinner modelling, I dived deeper into learning new and advanced techniques that would help me work more efficiently. Here is my progress with my robot modelling and how I worked on researched specialized techniques used in the industry.
Improving efficiency in Modelling:
Some techniques that ease in the various types of selection tools in 3Ds max has enabled me to work smarter. Such include:
Holding SHIFT (click type eg: EDGE SELECTION) will only convert the selection (polygon) to border edge selection
Holding CONTROL (click type eg: EDGE SELECTION) will select/convert to ALL EDGES
Holding CONTROL + SHIFT (click type eg: EDGE SELECTION) will only convert to the selected center edges (excluding borders)
This is incredibly helpful as it saves a lot of time in the way a selection can be identified in 3Ds max. You can even save a selection set and name it using numbers that can later be used from the drop down menu in the “Named selection sets”.
Specific Modifiers and tools that helped me in modelling the wheel for my robot:
I researched through the internet to find ways on creating an accurate and realistic looking wheel for my robot. Browsing through some tutorials, I landed on one that proved to be very insightful by introducing a list of new modifiers and tools that I wasn’t previously aware of.
Firstly, I took a reference image of a tractor wheel since my Robot is massive and would need a sturdy wheel to hold its weight. I studied it carefully and realized that the grooves on the tires wouldn’t be as easy to model than I thought.
I first started off with modelling one set of grooves on a plane using editable poly and bevel the polygons, but when I used the array tool to duplicate and the bend tool to rotate it into a wheel, I did not get the desired result. That’s when I stumbled upon this video that explained a new way of going about this.
Here’s a list of tips and tools I learnt from the video:
· Open Sub-division modifier
· Crease Set
· Using Soft selection tool (fig.2)
· Snap tool
· Loop tools – how to evenly space out loops (fig3. - before loop spacing, fig. 4 - after loop spacing)
· Angle and ignore backface selection (fig.1)
These tools enabled me to create a wheel that looks like this.

I’m pretty satisfied with how this turned out, although I had to do this twice to nail it right.
Tips and suggestions to improve my work (after feedback I):
As I was modelling using my concept art as reference, I realized I missed out on a couple of important pointers – the joints. It didn’t strike me as I drew the concept from a 3/4th perspective that the legs would need to be longer and more detailed in order to hold the weight of the body over the tire, while the arms needed a way to be joined with the body and have the mobility to function as a proper arm. These were things that I discussed with my lecturer to gain a better insight.
From my first round of feedback, here is what I needed to work on.
I also learnt the difference between VRAY Displacement modifier and Displace modifier.

Images for both: (Fig. 5 & 6 Displace and VRAY displacement (respectively).
Both have their pros and cons but I resorted to using VRAY displacement modifier because the inner body is covered by the outer shell and isn’t a very important asset, hence, adding a lot of polys through turbo smooth will be unnecessary for an object that can be barely seen. With Displace modifier, I needed to crank up the iteration to 7 to get the desired effect, which drastically slowed down my system. Therefore, I used VRAY displacement modifier to get the details in with a decent amount of detail.
SPINNER Progress:
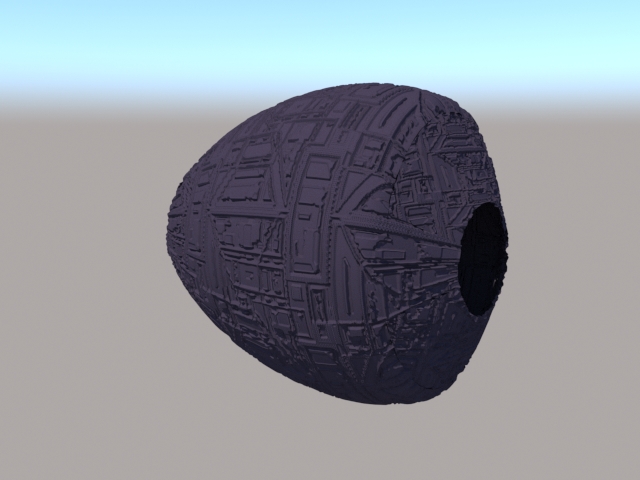
On the other hand, I unwrapped and designed panel lines on my spinner that allowed me to create the custom design on the top and bottom of the blades using VRAY displacement. I tried using the line tool to project it on the model with shapemerge, but that destroyed the whole model.

This is what I got after a first round of texture.
From another round of feedback from my lecturer, these are all the changes I have to work on.

I’m mostly done with the changes on the Robot model (so I can officially start texturing it) but I still need to work on my textures for the spinner. Here’s my progress so far with both:
ROBOT MODELLING
(Robot modelling changes implemented. So far, these have been approved to start texturing.)
SPINNER TEXTURING
(Still working on this but so far this has been my progress from the given feedback)
Lastly, I’m glad we had been multitasking this week to get our models AND the mock done and approved. I took the initiative of re-storyboarding all the new shots and went out to re-shoot them, came back home and edited, while my teammate was working on her CGI parts. (See below for new storyboards).
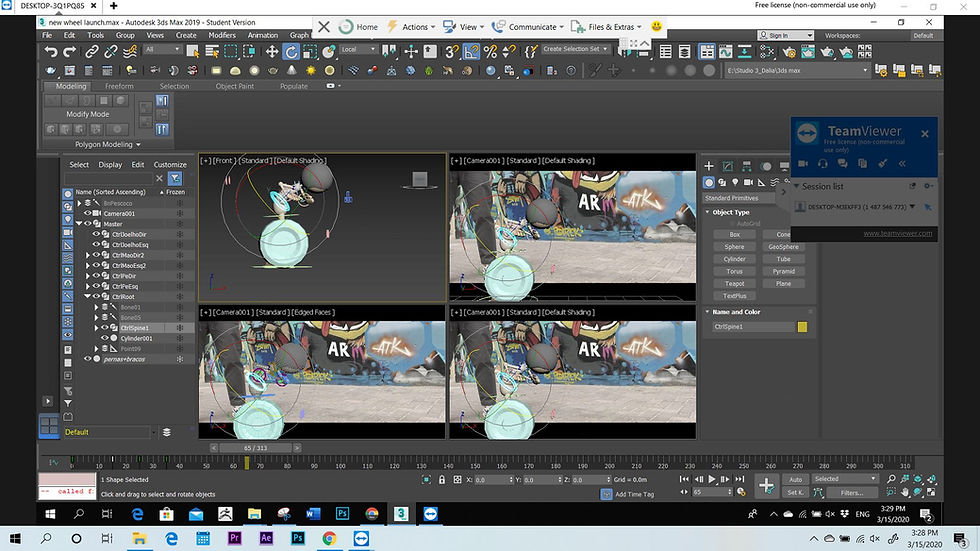
Since she was still struggling with the animations, I tried to help her out using team-viewer to work on my shots of the CGI on her laptop (as my 3ds max couldn’t play the sequence).

Later, I was told that I shouldn’t be working on her part and split the tasks differently to ensure everyone is responsible for their own shots from day one. I will be working on this henceforth and rely purely on my shots to enhance them and deliver the best quality I can.
_________________________________
To conclude, this week I was able to complete my models, get feedback on them and rework over those feedback. My robot is approved in terms of modelling but the textures will help to give it that extra push to its aesthetic. The mock is finally approved so I am set to work on test shoots and implement the BOUJOU learning we had online. For this upcoming week, I hope to be done with a good texture for my robot, and work on some shots with CGI implementation. Let’s see how it goes.


Comments